Screenshot of WebCheck

Description of WebCheck
WebCheck can be classified as an adware or a potentially unwanted program which guarantees to enhance your browser performance and secure your browser while surfing the internet and also protect you from phishing attacks.At the beginning, it show on your computer as a add on. It will pop up when you open the browser like Internet Explorer, Google Chrome and Firefox.
Here are two solutions to remove WebCheck Popup
In this post, there will be two solutions to remove WebCheck Pup-up:
1. Remove WebCheck Pup-up Adsmanually.
2. Remove WebCheck Pup-up Adsby using SpyHunter anti-malware.
Specific Guides to Safely and Completely Get Rid of WebCheck
Guide One: WebCheck Manual Deletion
Step 1: Reset your browser setting
Firefox:
In the drop-down list of Firefox, go to Help and click on Troubleshooting Information.
Click on the Reset Firefox button to reset it.
)VUKCS%5DJ.jpg)
Google Chrome:
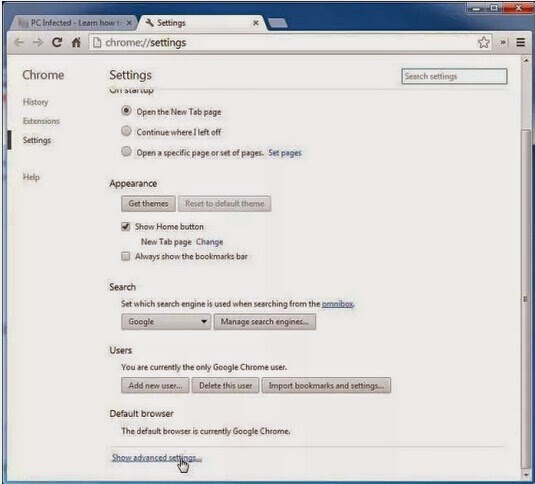
Click on the Chrome menu on the right of toolbar and then select Settings.
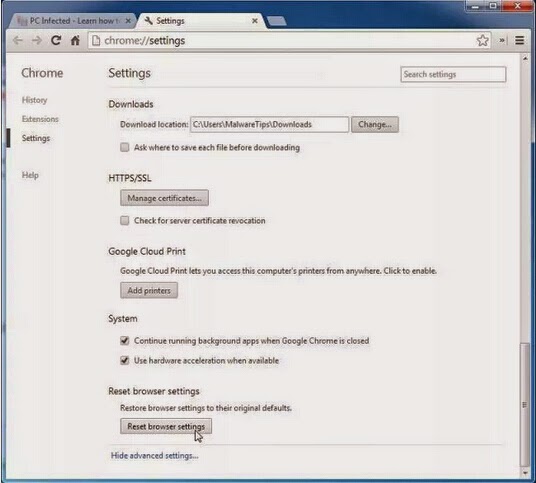
Scroll down to the bottom to click Show advanced settings.
Go down to the bottom and click Reset browser settings to reset Google Chrome to its default setting.
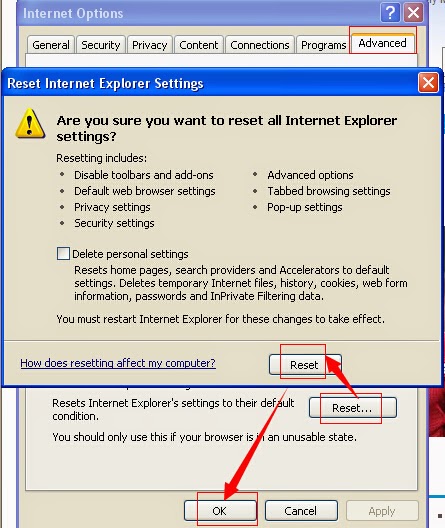
IE:
Click Tools on the up right corner and select Internet Options.
Click on Advanced tab, press Reset button to reset IE to its default settings.
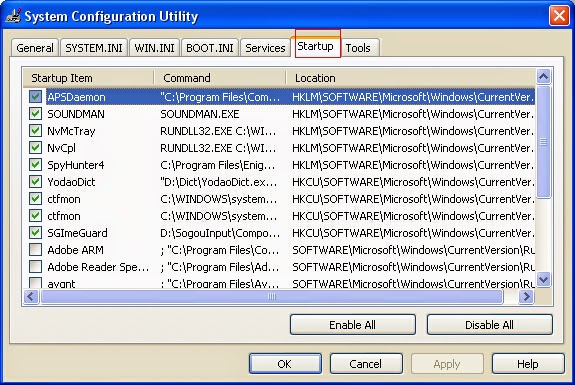
Step 2: Disable all startup items created by WebCheck
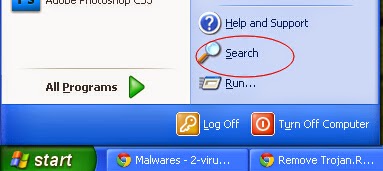
Click on Start button and select Run…
Type msconfig to start System Configuration Utility
At the tab of Startup, select possible startup items of Blasteroids, then press OK

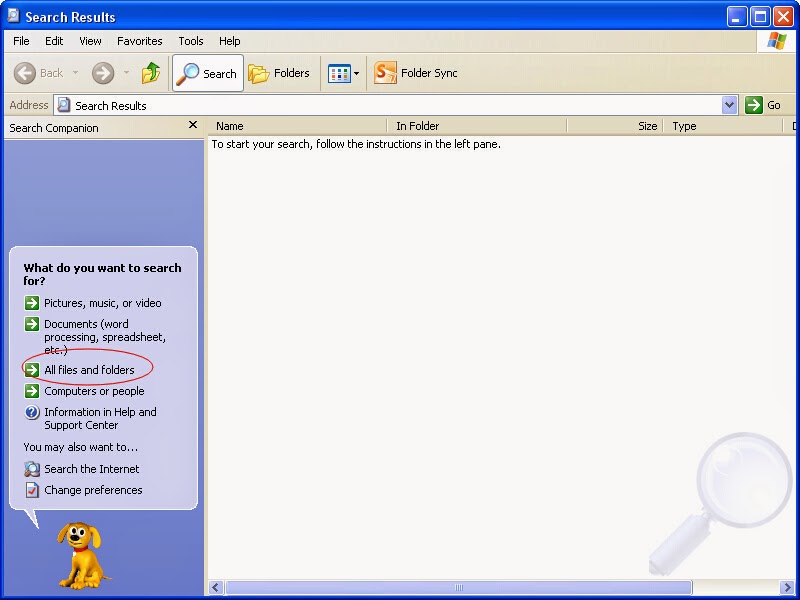
Step 3: Remove files of WebCheck like the pictures showed:

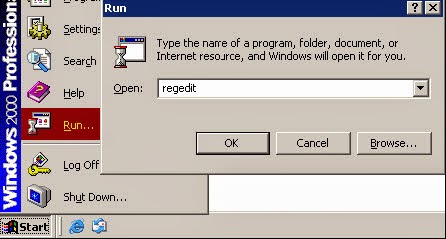
Step 4: Go to the Registry Editor and remove all the infection registry entries listed here:
(Steps: Hit Win+R keys and then type regedit in Run box to search)
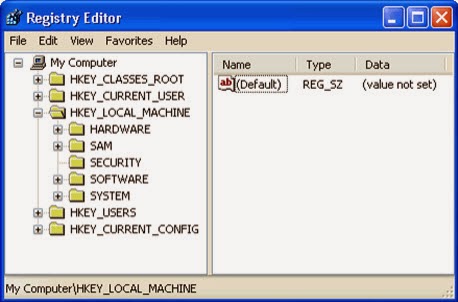
HKEY_LOCAL_MACHINE\SOFTWARE\Microsoft\Internet Explorer\Main "Start Page" = "http://www.<random>.com/?type=hp&ts=<timestamp>&from=tugs&uid=<hard drive id>"
HKEY_LOCAL_MACHINE\SOFTWARE\Microsoft\Internet Explorer\Search "CustomizeSearch" = "http://www.<random>.com/web/?type=ds&ts=<timestamp>&from=tugs&uid=<hard drive id>&q={searchTerms}"
HKEY_LOCAL_MACHINE\SOFTWARE\Microsoft\Internet Explorer\Search "SearchAssistant" = "http://www.<random>.com/web/?type=ds&ts=<timestamp>&from=tugs&uid=<hard drive id>&q={searchTerms}"
Step 5: All the infection associated files listed below need to be removed:
%CommonAppData%\<random>.exe
C:\Windows\Temp\<random>.exe
%temp%\<random>.exe
C:\Program Files\<random>
Guide Two: Automatic Removal with SpyHunter
SpyHunter is a world-famous real-time malware protection and removal tool, which is designed to detect , remove and protect your PC from the latest malware attacks, such as Trojans, worms, rootkits, rogue viruses, browser hijacker, ransomware, adware, key-loggers, and so forth. To keep SpyHunter Anti-malware on your computer is an important way to protect your computer in a good condition. Please find the instruction as follow.
Step 1: Press the following button to download SpyHunter.

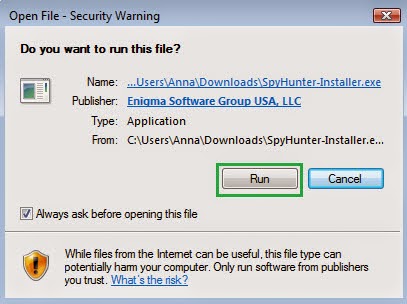
Step 2: Save it into your computer and click on the Run choice to install it step by step.

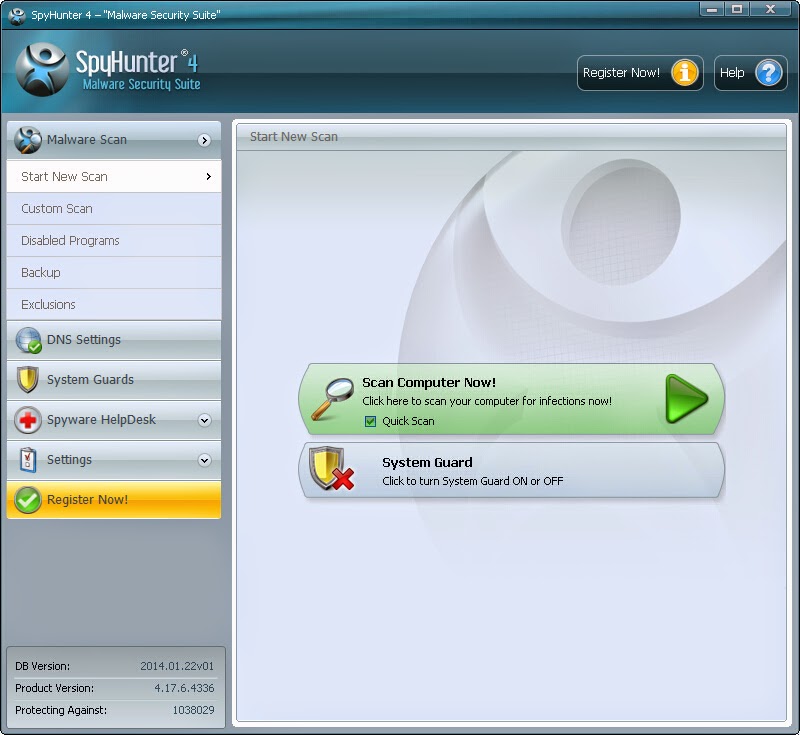
Step 3: Click Finish then you can use it to scan your computer to find out potential threats by pressing Scan computer now!
6158)AZRTJ6S.jpg)
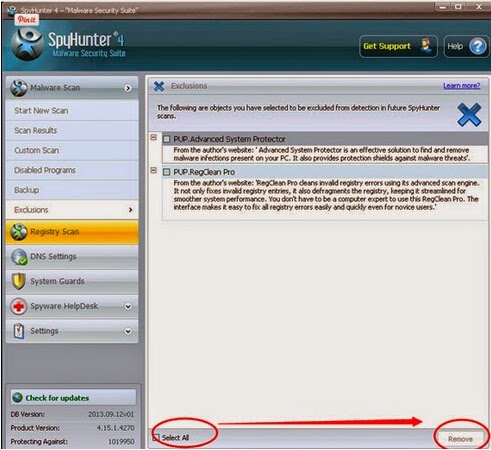
Step 4: Tick Select all and then Remove to delete all threats.
Note: Manual removal demand a high computer skill. If you are not so professional on computer. Spyhunter can be your better choice, because it is capable of antodetecting and removing viruses.

No comments:
Post a Comment