Have received pop-up ads from YouShopping constantly? Have tried to remove it but it always comes back? Want to stop the adware permanently? Here in this post you will find the removal guides to remove this threat.
Basic information of YouShopping
YouShopping is a nasty and tricky adware program that will attack all the computer systems that based on Windows 7, Windows 8, Windows 8.1 and Windows XP/Vista. It can attach on all the browsers including Internet Explorer, Mozilla FireFox and Google Chrome. It may come into your computer along with some free software, files and drivers. You may also get infect by opening spam emails, sharing corrupt, or clicking to unsafe web sites, and so on.

Once infected, YouShopping will change your browser stetting and becomes to display a lot of ads, banners and sponsor links on the browser you visit, or redirect you to some malicious websites. This is an ads-supported platform designed and development by the cyber criminals to make money. Don’t trust in the discounted products, this is just a trick to help the criminals to make profits. They can get revenue by the click-through rate and selling useless products. You will find your money just pay for nothing. You cannot even get the goods after paying for it.
YouShopping will keep track of your online activities, which makes your important information under high risk of being stolen. And by clicking to the malicious websites, you may get other threats download, such as Trojan horse, spyware and ransomware. You should delete this adware immediately from your computer due to those dangers.
Step-by-step guides to uninstall YouShopping
In order to remove it, you can follow the manual steps introduced below. But before you begin, please spend some time in making a backup. Besides, you can also uninstall it under the help of SpyHunter, a real-time anti-malware app.
Guide 1: Manual Removal
Guide 1: Manual Removal
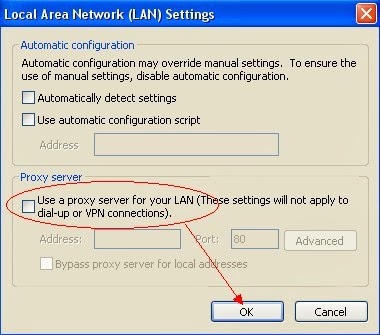
Step 1- Reset Internet Explorer by the following guide (take IE as an example):
Open Internet Explorer >> Click on Tools >> Click on Internet Options >> In the Internet Options window click on the Connections tab >> Then click on the LAN settings button>> Uncheck the check box labeled “Use a proxy server for your LAN” under the Proxy Server section and press OK.
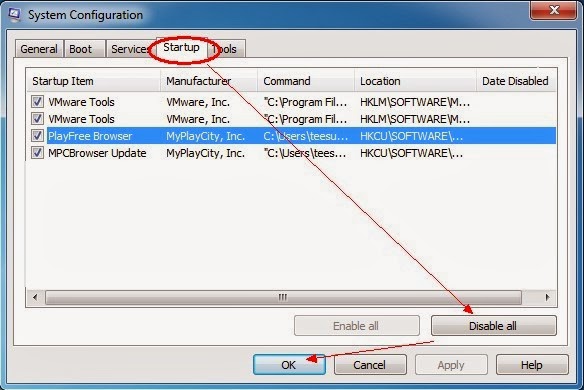
Step 2- Disable any suspicious startup items that are made by infections from YouShopping
For Windows Xp: Click Start menu -> click Run -> type: msconfig in the Run box -> click Ok to open the System Configuration Utility -> Disable all possible startup items generated from YouShopping.
For Windows Vista or Windows7: click start menu->type msconfig in the search bar -> open System Configuration Utility -> Disable all possible startup items generated from YouShopping.
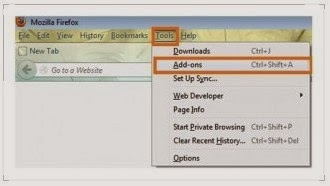
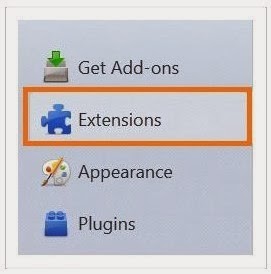
Step 3- Remove add-ons:
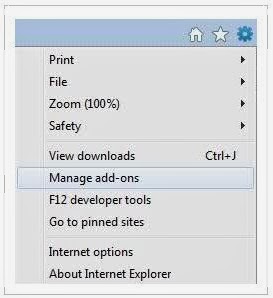
Internet Explorer
1) Go to 'Tools' → 'Manage Add-ons';
2) Choose 'Search Providers' → choose 'Bing' search engine or 'Google' search engine and make it default;
3) Select 'Search Results' and click 'Remove' to remove it;
4) Go to 'Tools' → 'Internet Options', select 'General tab' and click 'Use default' button or enter your own website, e.g. Google.com. Click OK to save the changes.
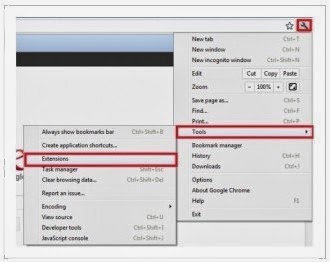
Google Chrome
1) Click on 'Customize and control' Google Chrome icon, select 'Settings';
2) Choose 'Basic Options'.
3) Change Google Chrome's homepage to google.com or any other and click the 'Manage search engines...' button;
4) Select 'Google' from the list and make it your default search engine;
5) Select 'Search Results' from the list remove it by clicking the "X" mark.
Mozilla Firefox
1) Click on the magnifier's icon and select 'Manage Search Engines....';
2) Choose 'Search Results' from the list and click 'Remove' and OK to save changes;
3) Go to 'Tools' → 'Options'. Reset the startup homepage or change it to google.com under the 'General tab';
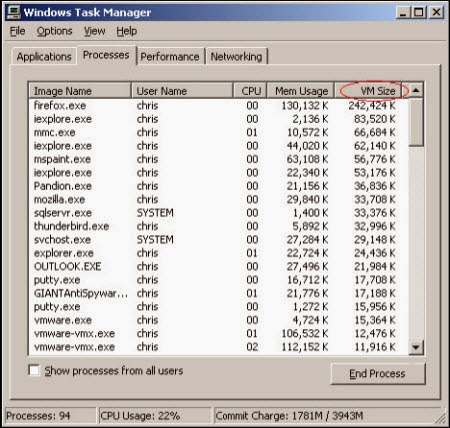
Step 4- Open Windows Task Manager and close all running processes.
( Methods to open Task Manager: Press CTRL+ALT+DEL or CTRL+SHIFT+ESC or Press the Start button->click on the Run option->Type in taskmgr and press OK.)
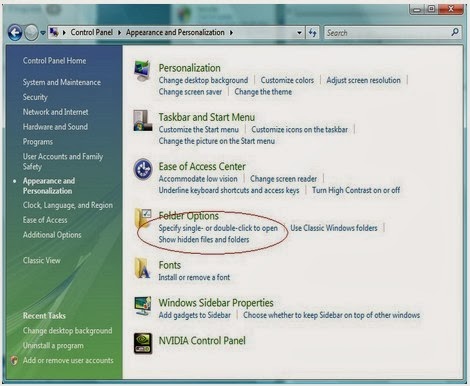
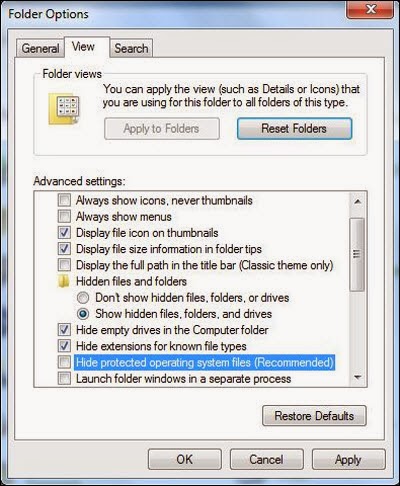
Step 5- Show all hidden files
Open Control Panel from Start menu and search for Folder Options. When you’re in Folder Options window, please click on its View tab, check Show hidden files and folders and uncheck Hide protected operating system files (Recommended) and then press OK.
U$9SK6NK%25KYQSWMH.jpg)
Step 6- Remove these associated Files on your hard drive such as:
%AllUsersProfile%
%AllUsersProfile%\Programs\{random letters}\
%AllUsersProfile%\Application Data\~r
%AllUsersProfile%\Application Data\~dll
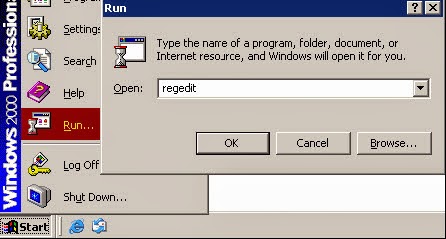
Step 7- Open the Registry Editor and delete the following entries:
(Steps: Hit Win+R keys and then type regedit in Run box and click on OK)

HKLM\SOFTWARE\Microsoft\Windows\CurrentVersion\Uninstall\YouShopping
HKLM\SOFTWARE\Microsoft\Windows\CurrentVersion\Explorer\Browser Helper Objects\{numbers}
HKCR\CLSID\{numbers}
HKCU\SOFTWARE\Microsoft\Windows\CurrentVersion\Ext\Settings\{numbers}
HKCU\SOFTWARE\Microsoft\Windows\CurrentVersion\Ext\Stats\{numbers}
HKLM\SOFTWARE\Microsoft\Windows\CurrentVersion\Explorer\Browser Helper Objects\{numbers}
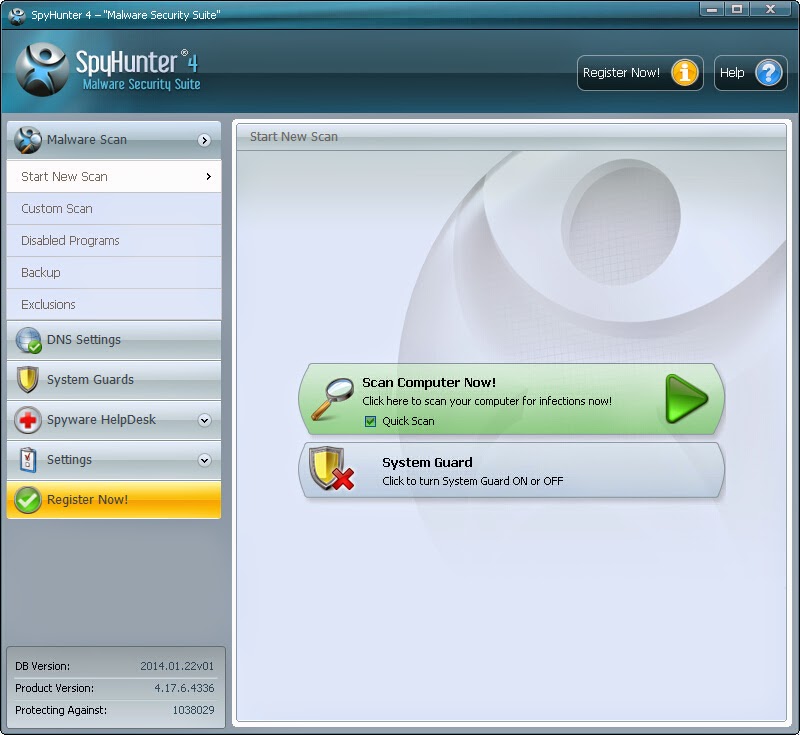
Guide 2: Automatic Removal with SpyHunter
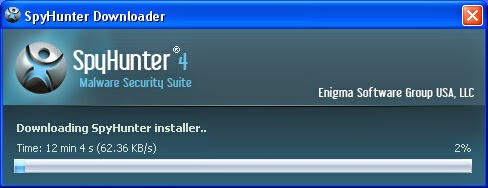
Step 1: Click on the Download button and save its application into your computer.
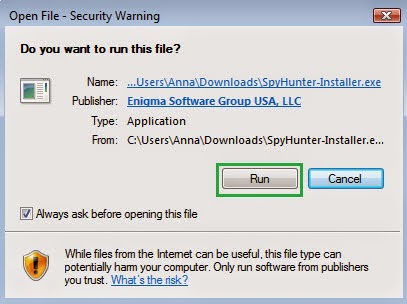
Step 2: Then a prompt box will pop up to ask you if you will run it, click Run and wait for its installation.
Step 3: When it finishes installation, click on the Scan Computer Now button to begin scanning, when it displays the final report of detected threats, remove them.
The video direction below can give you a hand
Please Attention: SpyHunter is a strong antivirus and can be added as another safeguard in your computer and cooperate with your previous one without collision. It can block viruses, malware and Trojans at the time of their in-break. Beset by these annoying stuffs? Download SpyHunter to eliminate your anxiety.
No comments:
Post a Comment