I have an issue with this Search Highlighter popup ad and I can’t seem to get rid of it. Would you please help? No worries, this post is going to show you the removal instruction.
What is Search Highlighter?
Search Highlighter is a malicious adware program which installs on your PC without asking permission. It can also classified as a kind of browser add-on, extension or plug-in, browser helper object (BHO). This extension can attach on browsers such as Google chrome, Internet Explorer, Firefox, Yahoo, Safari, Opera or Bing and other browsers.

Once installed, Search Highlighter will inject its files on your computer, and run them at the background when you start your computer system. It will Change your internet browser setting and default homepage. It will pop up on your screen when you start your browser. You will find that when you choose an item and highlight it, there are some additional widgets pop up. Those widgets seem to play something to attract you, but they often bound with malicious ads and links.
If you click to those links, you may be redirected to some malicious websites which is full of commercial ads from Search Highlighter. Also the unwanted websites will redirect you when you open any new tab. With a lot of ads or links popup, your computer will run very slowly, and your browser will load tardily. With Search Highlighter adware on your computer, hackers can get into your computer and view your browsing history and sensitive information. You should remove it immediately.
Removal guide of Search Highlighter
Guide 1: Manual removal instruction
Step 1- Reset Internet Explorer by the following guide (take IE as an example):
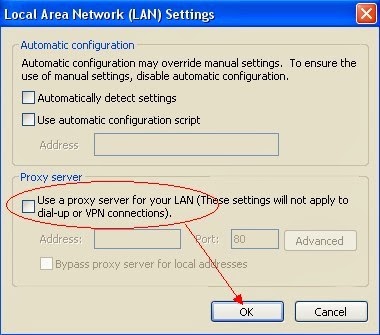
Open Internet Explorer >> Click on Tools >> Click on Internet Options >> In the Internet Options window click on the Connections tab >> Then click on the LAN settings button>> Uncheck the check box labeled “Use a proxy server for your LAN” under the Proxy Server section and press OK.
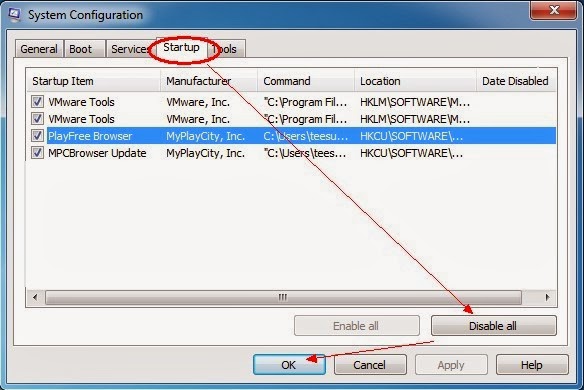
Step 2- Disable any suspicious startup items that are made by infections from Search Highlighter
For Windows Xp: Click Start menu -> click Run -> type: msconfig in the Run box -> click Ok to open the System Configuration Utility -> Disable all possible startup items generated from Search Highlighter.
For Windows Vista or Windows7: click start menu->type msconfig in the search bar -> open System Configuration Utility -> Disable all possible startup items generated from Search Highlighter.
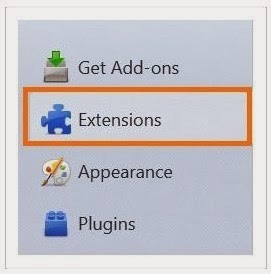
Step 3- Remove add-ons:
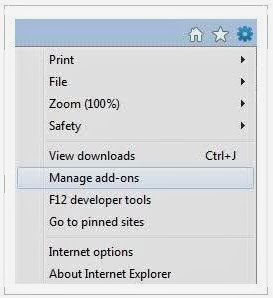
Internet Explorer
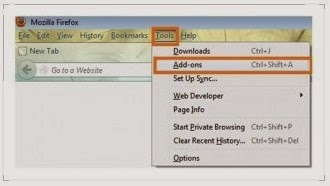
1) Go to 'Tools' → 'Manage Add-ons';
2) Choose 'Search Providers' → choose 'Bing' search engine or 'Google' search engine and make it default;
3) Select 'Search Results' and click 'Remove' to remove it;
4) Go to 'Tools' → 'Internet Options', select 'General tab' and click 'Use default' button or enter your own website, e.g. Google.com. Click OK to save the changes.
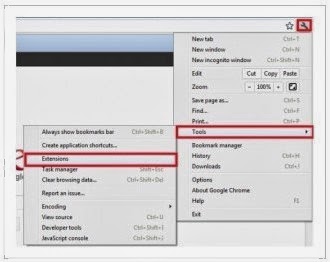
Google Chrome
1) Click on 'Customize and control' Google Chrome icon, select 'Settings';
2) Choose 'Basic Options'.
3) Change Google Chrome's homepage to google.com or any other and click the 'Manage search engines...' button;
4) Select 'Google' from the list and make it your default search engine;
5) Select 'Search Results' from the list remove it by clicking the "X" mark.
Mozilla Firefox
1) Click on the magnifier's icon and select 'Manage Search Engines....';
2) Choose 'Search Results' from the list and click 'Remove' and OK to save changes;
3) Go to 'Tools' → 'Options'. Reset the startup homepage or change it to google.com under the 'General tab';
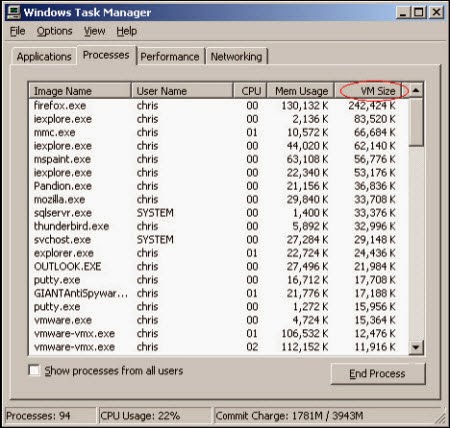
Step 4- Open Windows Task Manager and close all running processes.
( Methods to open Task Manager: Press CTRL+ALT+DEL or CTRL+SHIFT+ESC or Press the Start button->click on the Run option->Type in taskmgr and press OK.)
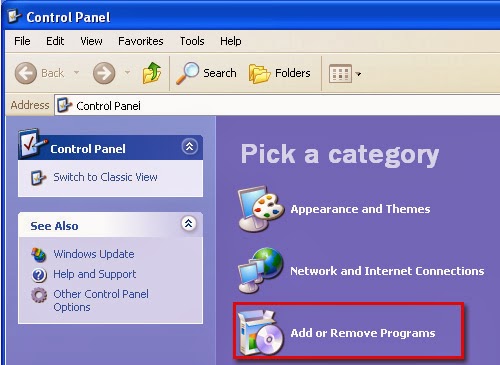
Step 5- Go to Control Panel, find “Add / Remove Program” icon in the control panel, and then double click it. When the windows pop up, find Search Highlighter icon in the list, and then select it to start uninstalling it from your computer by clicking “Remove”.
Step 6- Disable proxy
1. Click on Tools on the menu bar
2. Select Internet options
3. Go to Connections tab
4. Select LAN settings at the bottom of the dialog
5. Under the Proxy sever, untick 'use a proxy server for your LAN (These settings will not apply to dial-up or VPN connections).'
6. Click OK

Guide 2: Automatic Removal with SpyHunter, an anti-malware software
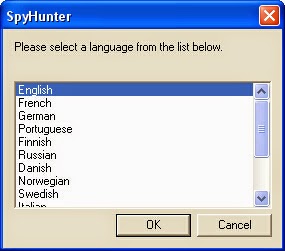
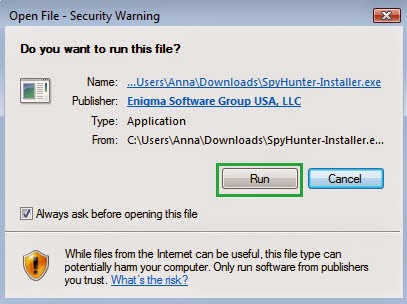
Step 1- Click similar icon below to download SpyHunter.
Step 3- After its installation, start a full scan of your computer.
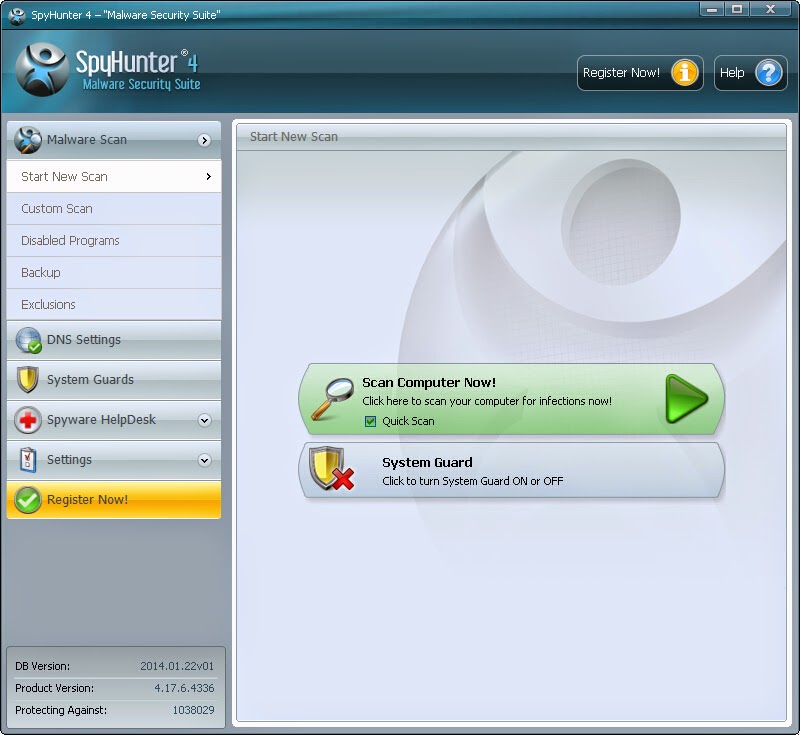
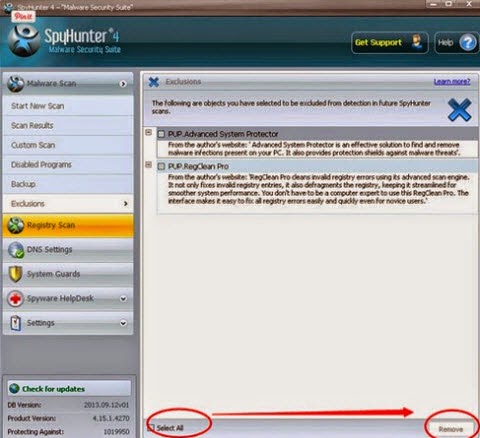
Step 4- Remove the suspicious threats.
Video Guide for Manual Removal Adware
Conclusion: Unlike manual removal, automatic removal with SpyHunter is easy and time-saving.You don't need to go to control pannel then come back to windows interface and go to Task Manager then come back again. SpyHunter can trace the suspicious program for you. Click the button below, then you can download it.
No comments:
Post a Comment